
Share with testers and release (TestFlight → App Store)
The full walkthrough for the paid route: join the Apple Developer Program, create the key MeDo needs, package and upload the app, invite testers through TestFlight, and hand over to App Store review.
This is the route that leads to the public App Store. Along the way it gives you TestFlight, Apple's free app for handing test versions to up to 10,000 people by email or link — no cables, no device IDs.
Budget about an hour the first time, most of it on Apple's website. Every later release is a few clicks.
Before you start
- Apple Developer Program membership — US$99 a year. Enrol at developer.apple.com/programs/enroll with your Apple ID. Approval usually takes a day or two; you cannot continue until it is active.
- 500 credits per packaging run in MeDo (refunded if the run fails).
- Your Mobile app, finished and tested in the browser.
Part 1 — Create the key that lets MeDo talk to Apple
MeDo uploads the app to Apple on your behalf. To allow that, Apple wants a small key file. You create it once and reuse it for every app.
- Sign in to App Store Connect with the Apple ID you enrolled with.
- Go to Users and Access → Integrations tab → App Store Connect API. Make sure Team Keys is selected (not Individual Keys). The very first time, Apple shows a Request Access button instead — click it, accept the terms, and wait for Apple's approval (only the Account Holder can do this).
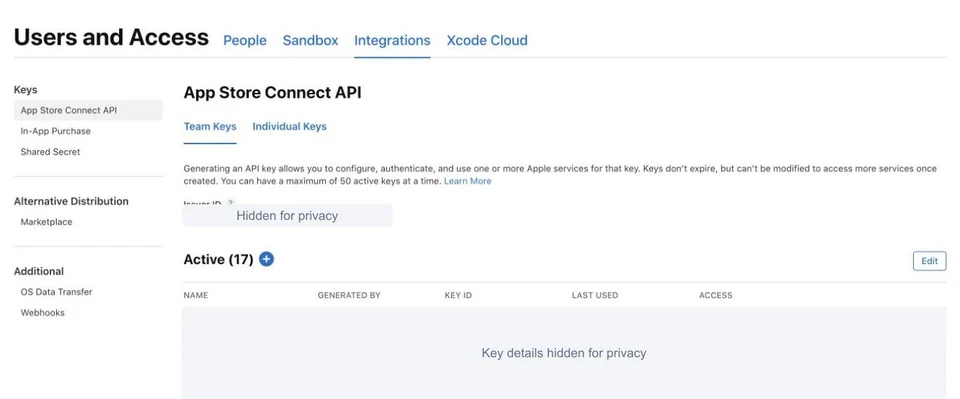
- Copy the Issuer ID shown at the top of the page and paste it somewhere safe (a note on your computer).
- Click Generate API Key (or the + next to Active if you already have keys). Give it a name such as
MeDo, choose Admin under Access — MeDo needs it to create certificates and register the Bundle ID — and click Generate. The name and access level cannot be changed afterwards. - On the new row, copy the Key ID, then click Download API Key. You get a file ending in
.p8.
Download it now and keep it. Apple lets you download this file exactly once. Store it with your Issuer ID and Key ID. If you ever lose it or share it by mistake, come back here, Revoke the key, and create a new one.
Part 2 — Package the app in MeDo
- Open your Mobile project and click Export installation package at the top of the editor.
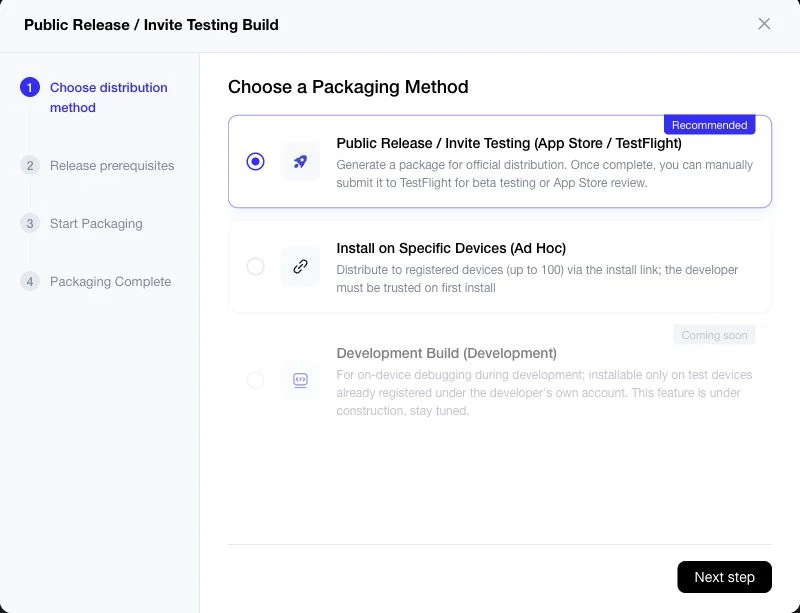
- Choose the iOS App tab → Packaging V… version → Public Release / Invite Testing → Use this option.
- On Choose a Packaging Method, keep Public Release / Invite Testing (App Store / TestFlight) selected and click Next step.
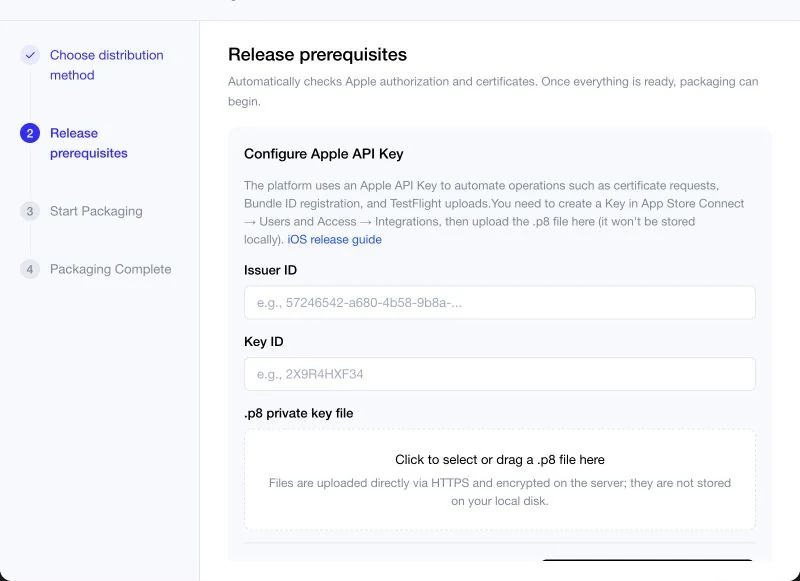
- On Release prerequisites, paste your Issuer ID and Key ID and drop the .p8 file into the box. MeDo checks the key, creates the certificates it needs, and registers the app's Bundle ID with Apple. MeDo remembers the key for your later builds.
- Click Start Packaging. Wait 3–8 minutes; you can close the dialog and come back.
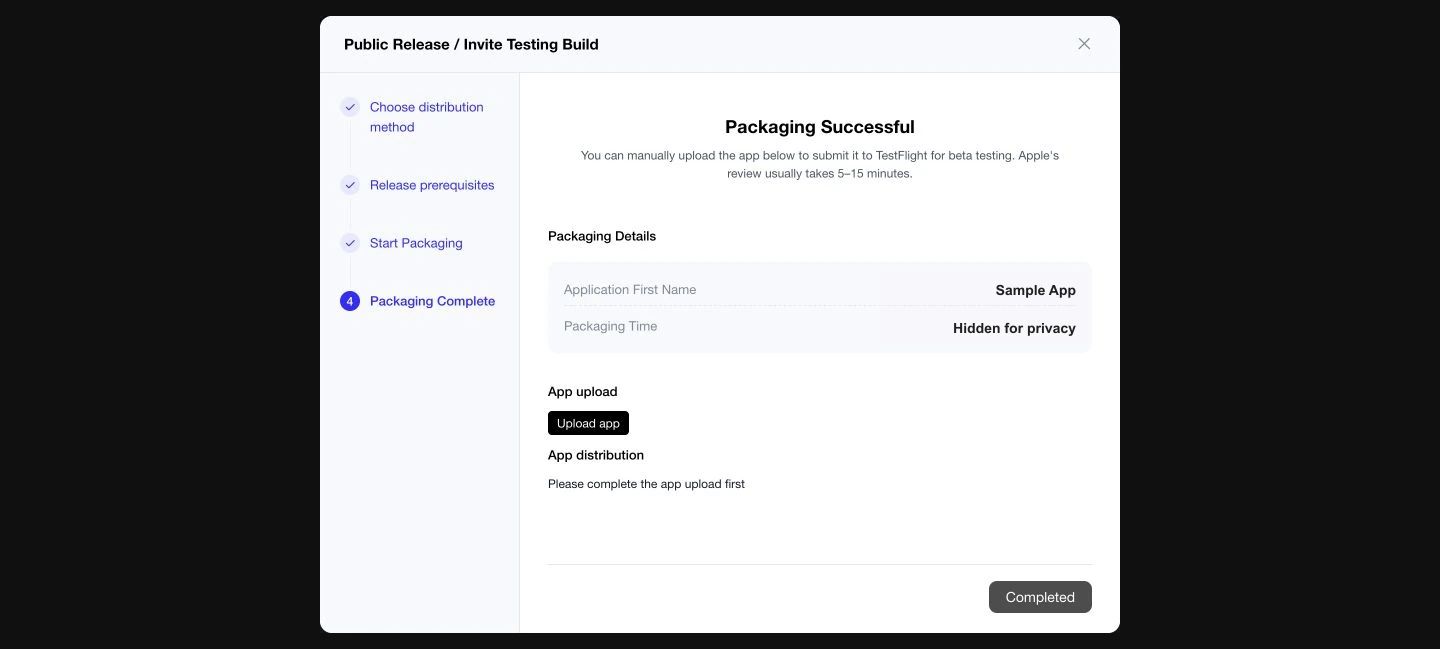
- When you see Packaging Successful, stop here for a moment — do not click Upload app yet. Apple first needs an empty "slot" for the app (next part).
Part 3 — Create the app's page in App Store Connect
- In App Store Connect, open Apps and click the + → New App.
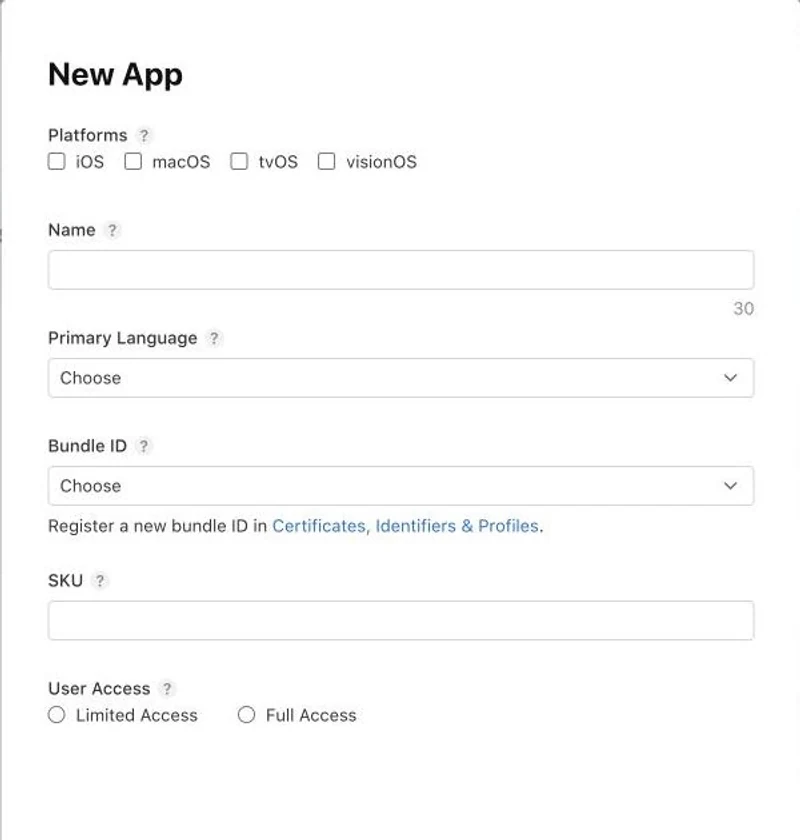
- Fill it in:
- Platforms — tick iOS.
- Name — the name people will see in the App Store (you can change it later).
- Primary Language — the language of your app.
- Bundle ID — open the dropdown and pick the one MeDo registered in Part 2. It matches the Bundle ID shown next to your build in the Export installation package dialog. If it is not in the list yet, give it a minute and reload the page.
- SKU — any short code for your own records, for example
bakery-app-1. Customers never see it. - User Access — Full Access is fine for a personal account.
- Click Create.
Part 4 — Upload the build
Back in MeDo, in the Packaging Successful screen (or from the build's row in Export installation package), click Upload app. MeDo sends the build to Apple. In App Store Connect, open your app → TestFlight tab; the build appears with a status of Processing and becomes ready after a few minutes (sometimes up to half an hour).
If Apple shows Missing Compliance next to the build, click Manage and answer the export-compliance questions about encryption. Apple's export compliance guide explains each option.
Part 5 — Invite testers with TestFlight
There are two kinds of tester groups. Most people only need the second.
Internal testers (up to 100) — for you and your team. They must first be added as users in Users and Access. In the TestFlight tab, under Internal Testing, click +, name the group, add the build, and tick the people.
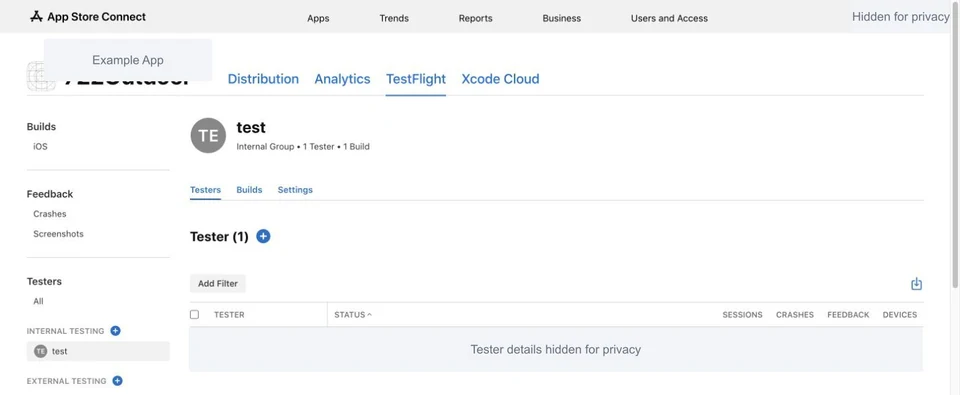
External testers (up to 10,000) — for clients, friends, customers. Under External Testing, click +, name the group, add the build, and write a sentence or two under What to Test. The first external build goes through a short Beta App Review by Apple before testers can install it. After that you can:
- Add testers by email — each person gets an invitation, or
- Enable Public Link — copy a link and share it anywhere; anyone who opens it can install.
What your testers do
- Install TestFlight from the App Store (free).
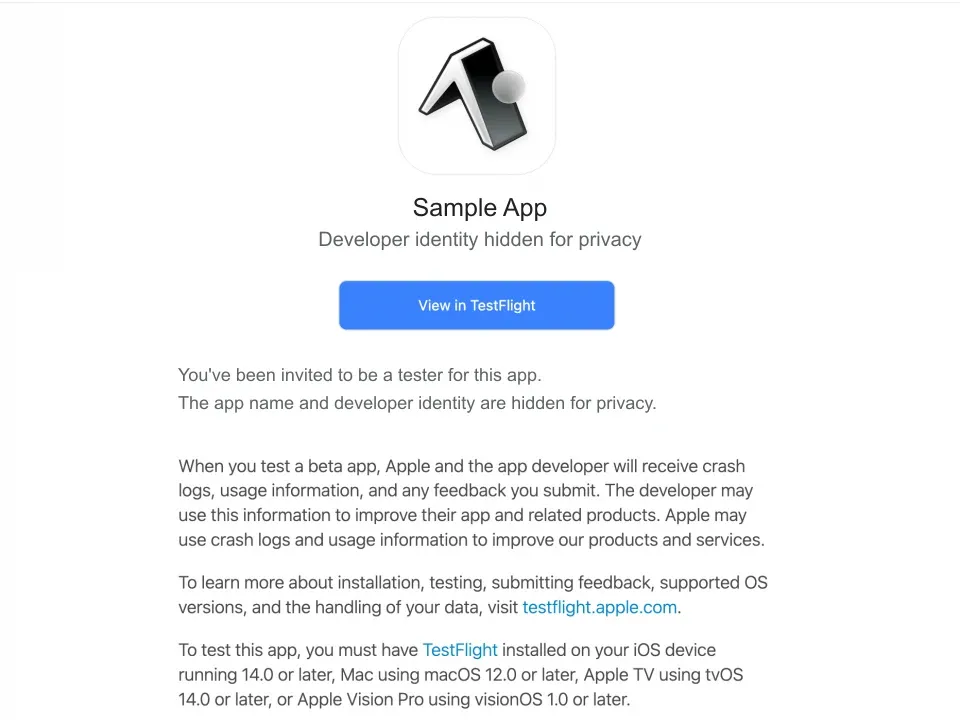
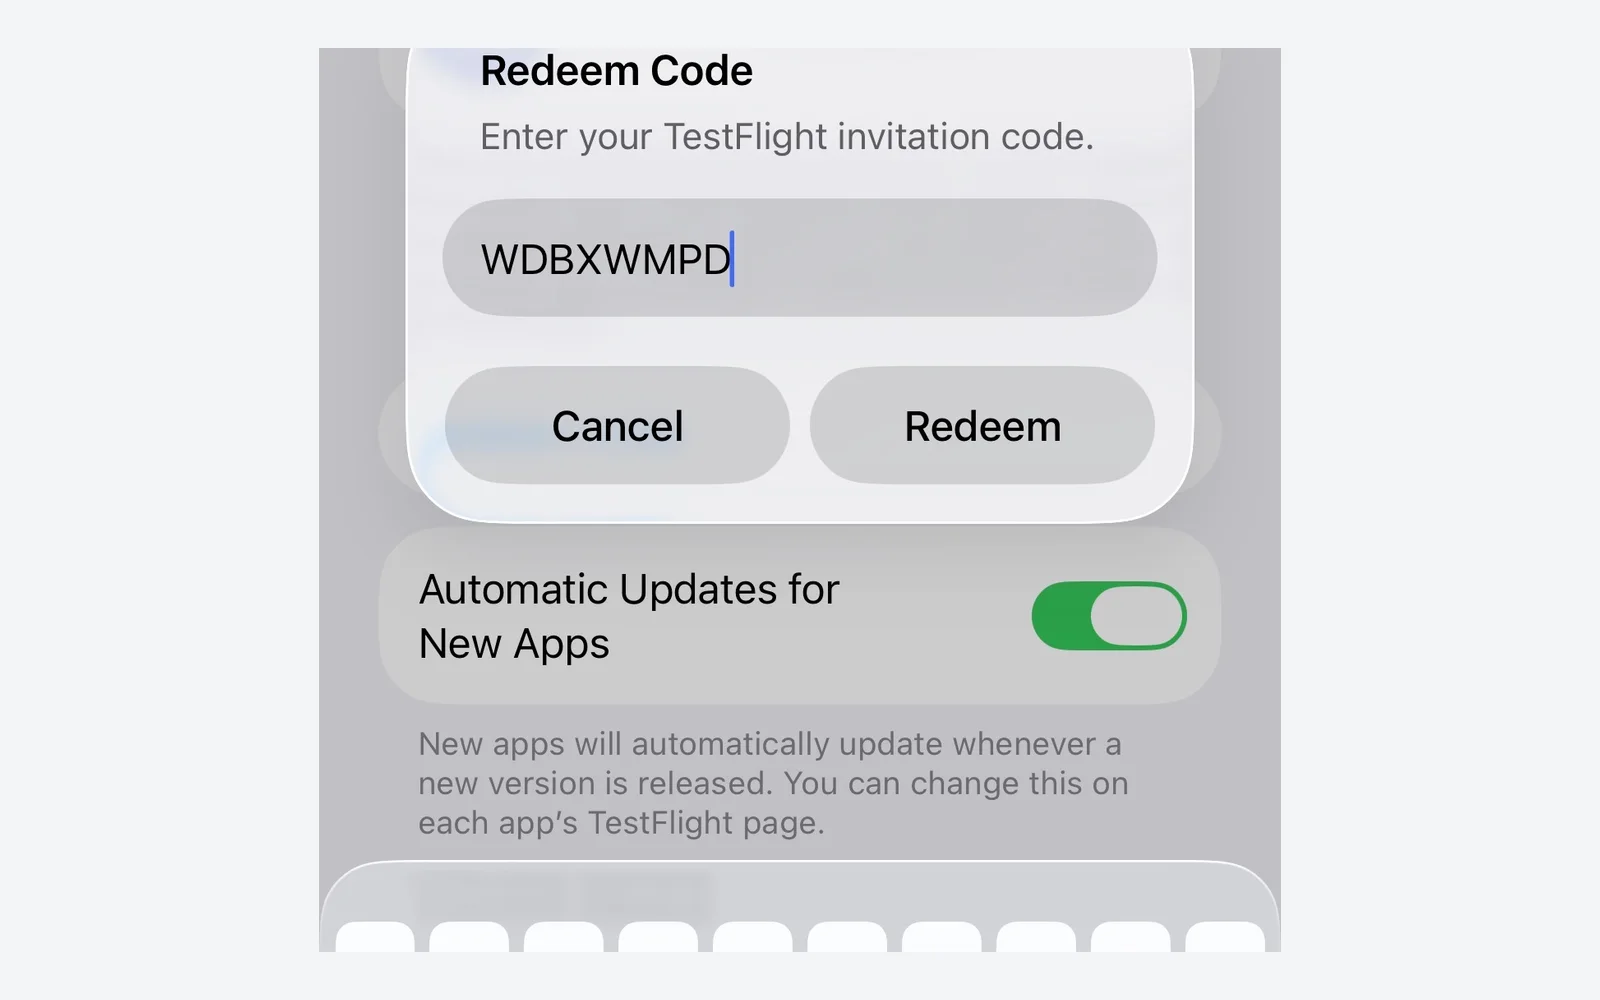
- Open the invitation email and tap View in TestFlight — or open your public link — or paste the code from the email into TestFlight under Redeem.
If they prefer, they can type the code from the email into TestFlight instead:
- Tap Install. The app appears on their home screen like any other app, and TestFlight tells them when a new version is available.
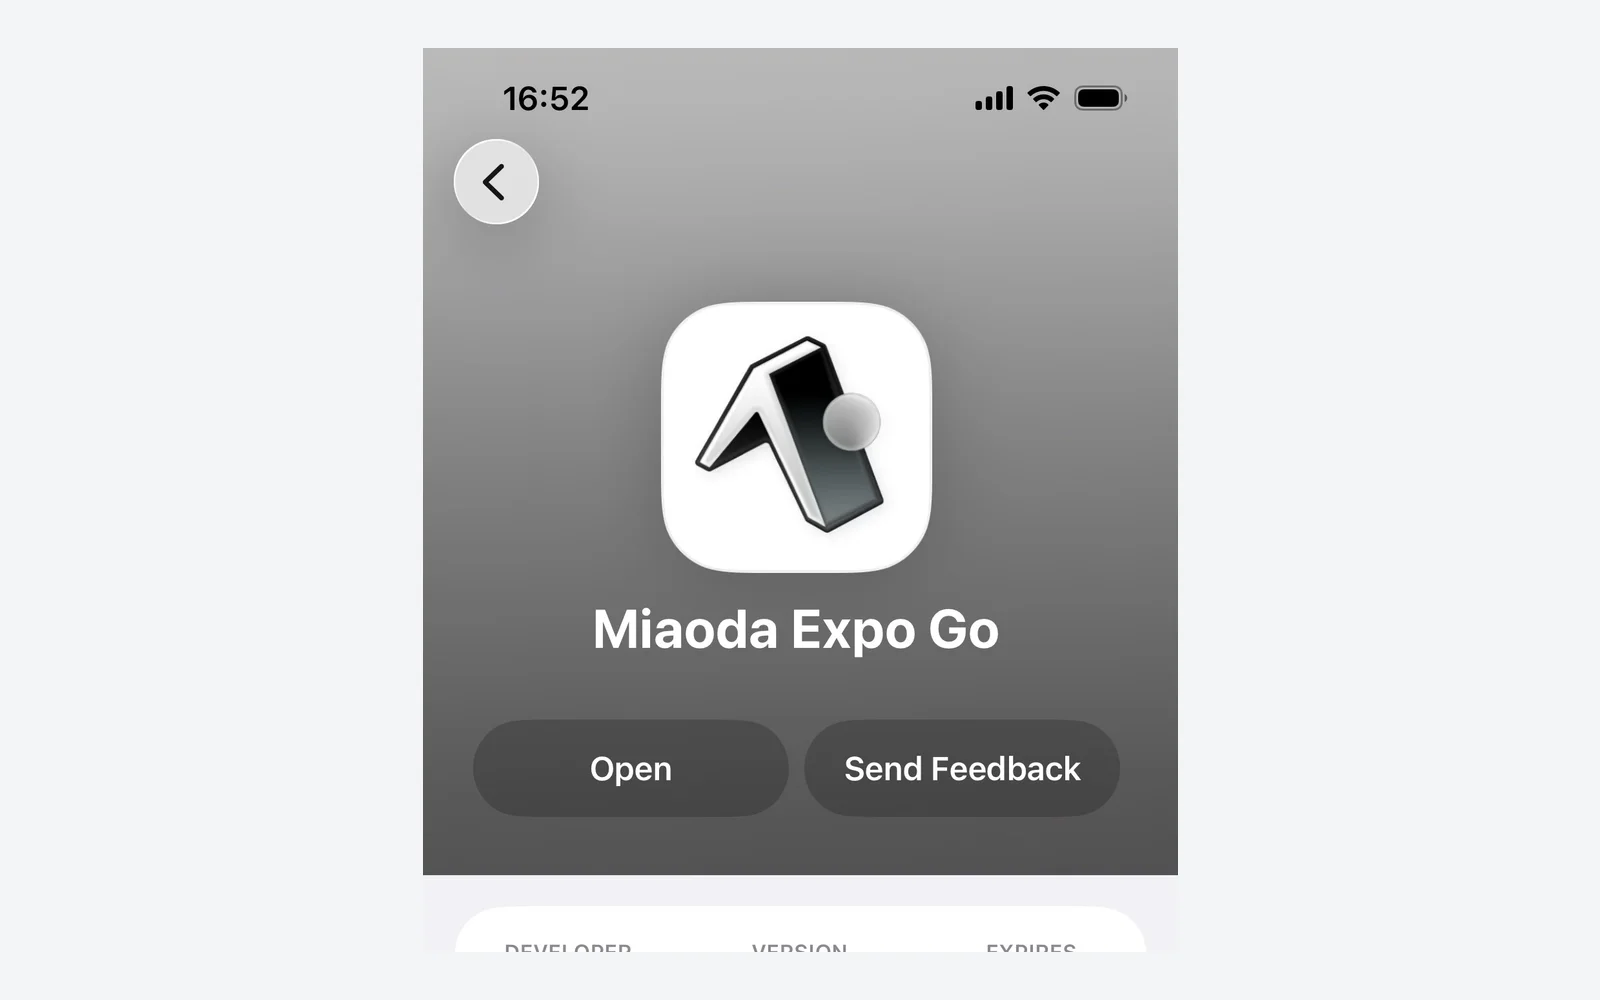
Each build works for 90 days. Upload a new build before then to keep testers going.
Part 6 — Ship a new version
After you change the app in MeDo: Export installation package → iOS App → Packaging V… version → same route → Start Packaging → Upload app. The key and Bundle ID are remembered, so this takes a couple of minutes. Add the new build to your TestFlight group and testers are prompted to update.
Part 7 — Go to the App Store
TestFlight approval is not App Store approval. When the app is ready for the public, continue with Publish on the App Store, which walks through the store listing, privacy questions, and the review submission.