
Quick Start
Build and publish your first MeDo app: describe it, review the plan, generate, refine, test, and go live.
This is the whole path from an idea to a live URL. Allow about 15-30 minutes for your first app. The example is a booking site for a barber shop. Substitute your own business as you go.
Before you start
- A MeDo account. New accounts get free credits, so a first build costs nothing.
- A rough idea of the pages you need and who will use them.
1. Sign in
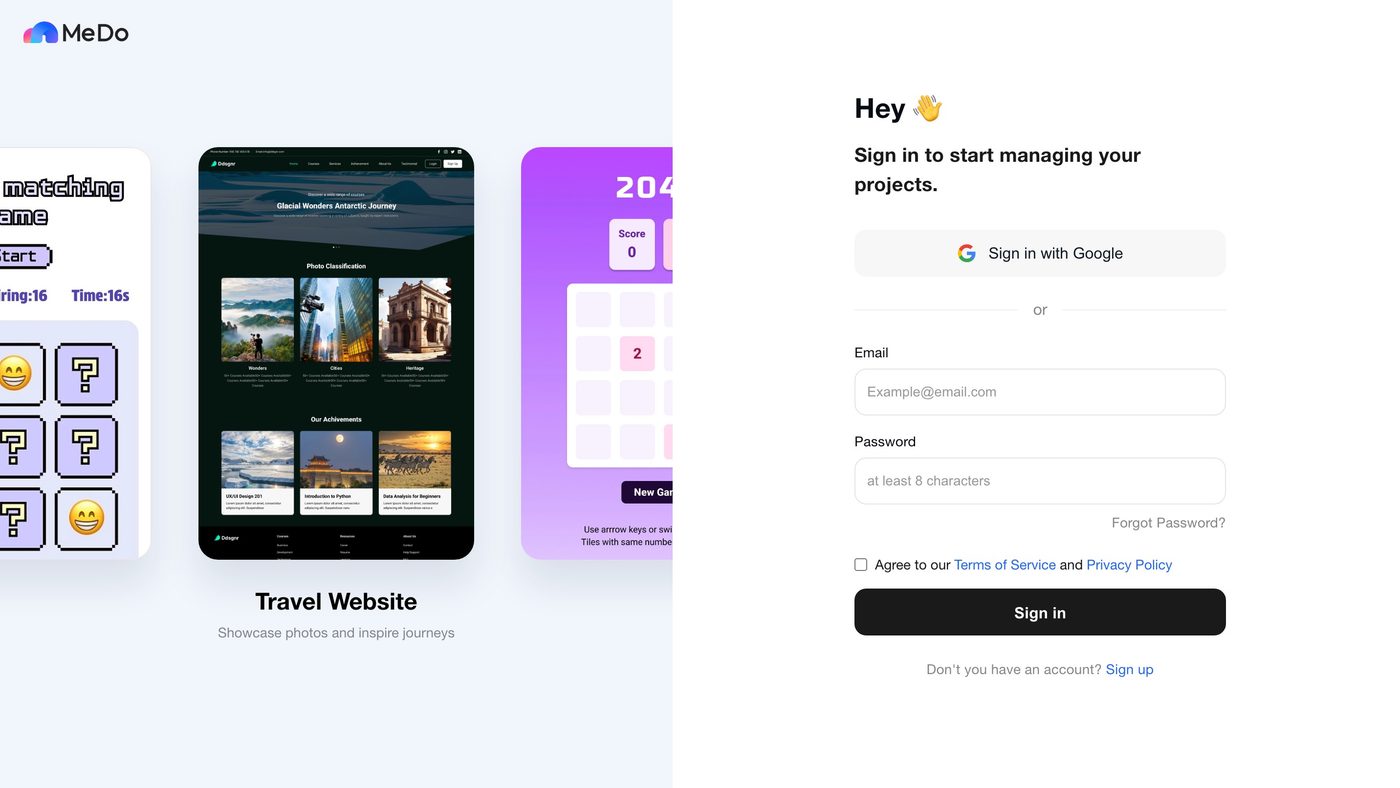
Open medo.dev and sign in with Google, or with an email and password. If you sign up with email, verify the address from the email you receive. See Sign In & Account.
2. Describe the product you want
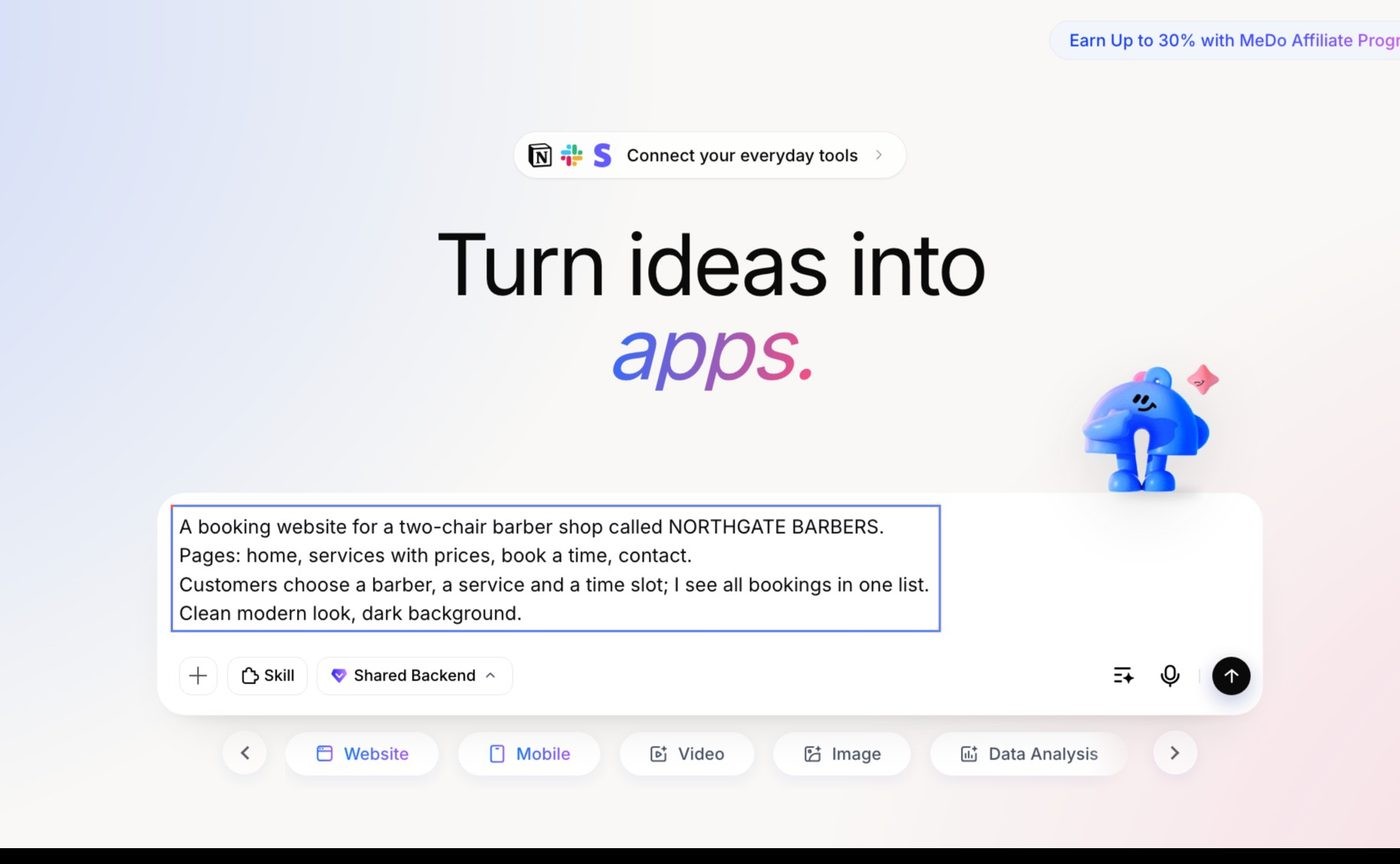
Type your requirement into the prompt box on the home page: name the business, list the pages, and say who uses it and what they do.
Two habits that improve the result:
- Name real content. Actual service names and prices beat "some services".
- Say who does what. "Customers book, I see the list" tells MeDo you need an admin view.
If you already have a requirements document, a screenshot, or a design you like, attach it — MeDo works from files and images as well as text. You can attach up to 5 files, 20 MB each. See Creating a site and Writing better prompts.
3. Choose what to produce
Under the prompt box, pick Website or Mobile if you want to steer the output. Leave it alone and MeDo decides from your description.
The same row also has task types — Slides, Image, Video, Data Analysis, Web Extract, Skill Creation — which produce a file instead of an app. See General Tasks.
Send the message.
4. Review the plan before anything is built
MeDo turns your prompt into a requirements document with tabs for Requirements, Style, and Backend. It lists the pages, the user flows, the data to store, and an explicit out of scope section.
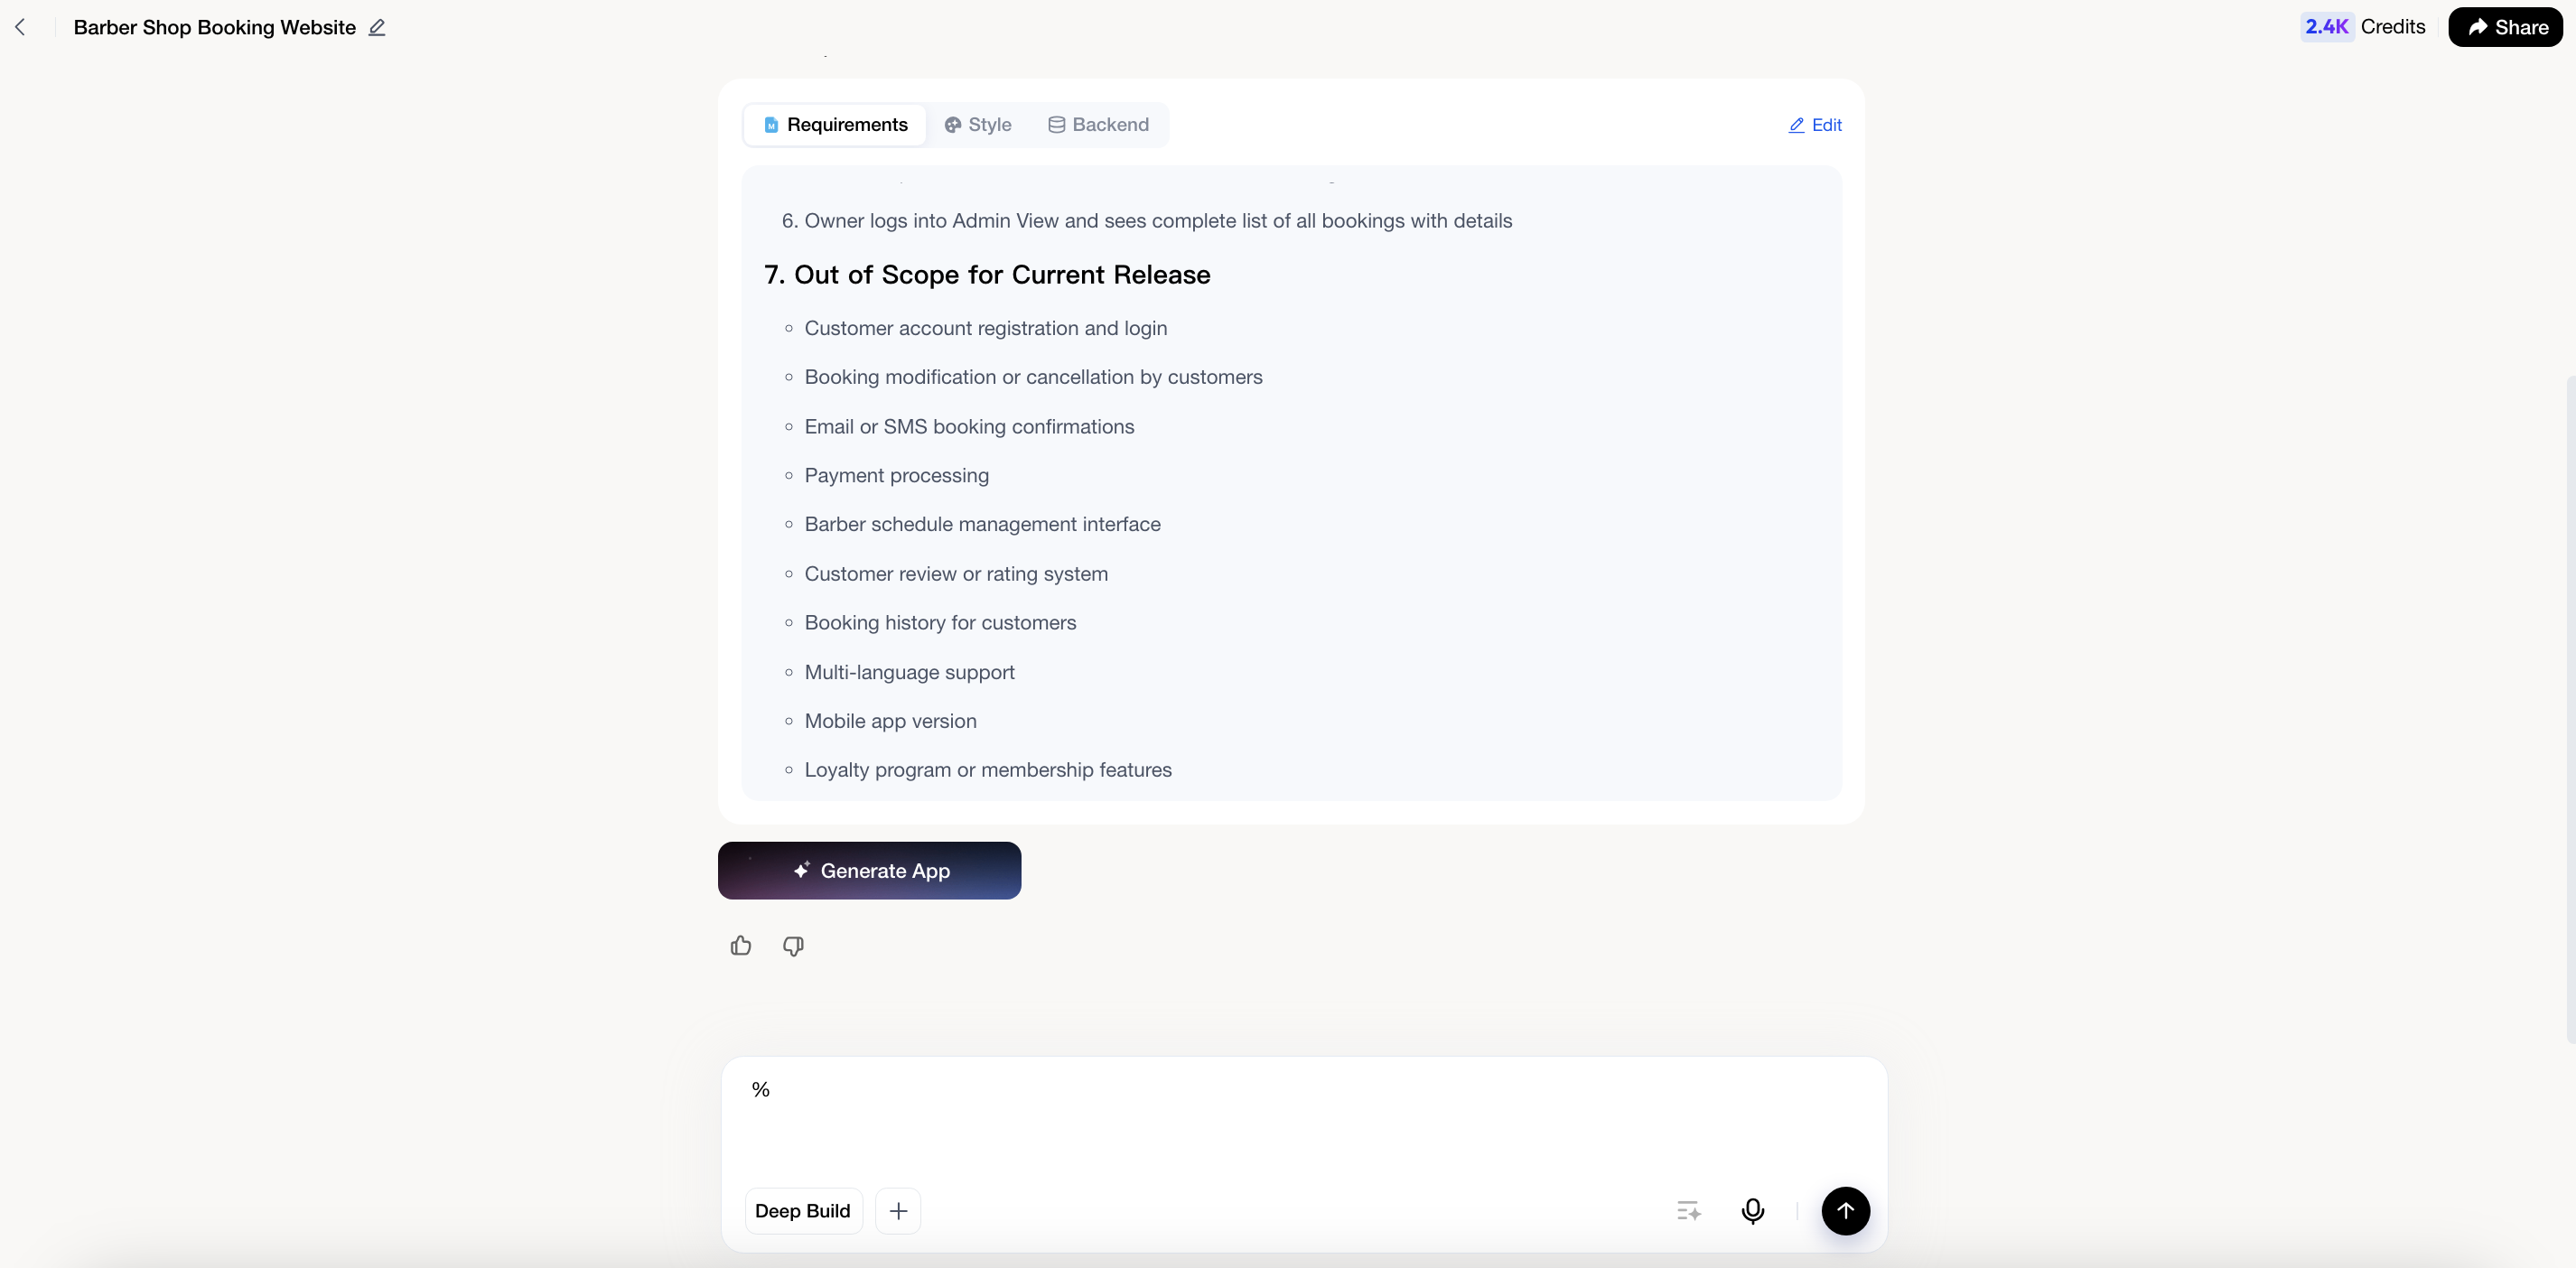
Read it, then click Edit on the document to change it directly. This step matters: the build follows this plan. Fix the pages, flows, and data here before anything is generated — for example add a cancel-booking flow, store the customer's phone number, or drop a newsletter section.
Save the document when it matches what you want.
5. Start the build
Click Generate App on the requirements message.
MeDo works through visible steps — choosing the design, setting up the database, then creating the pages — with a task counter showing progress. This takes several minutes for a small app and longer for one with a backend. You can leave the page and come back; the build continues.
6. Refine what you got
When the build finishes you land in the editor with a working preview. Three ways to change it:
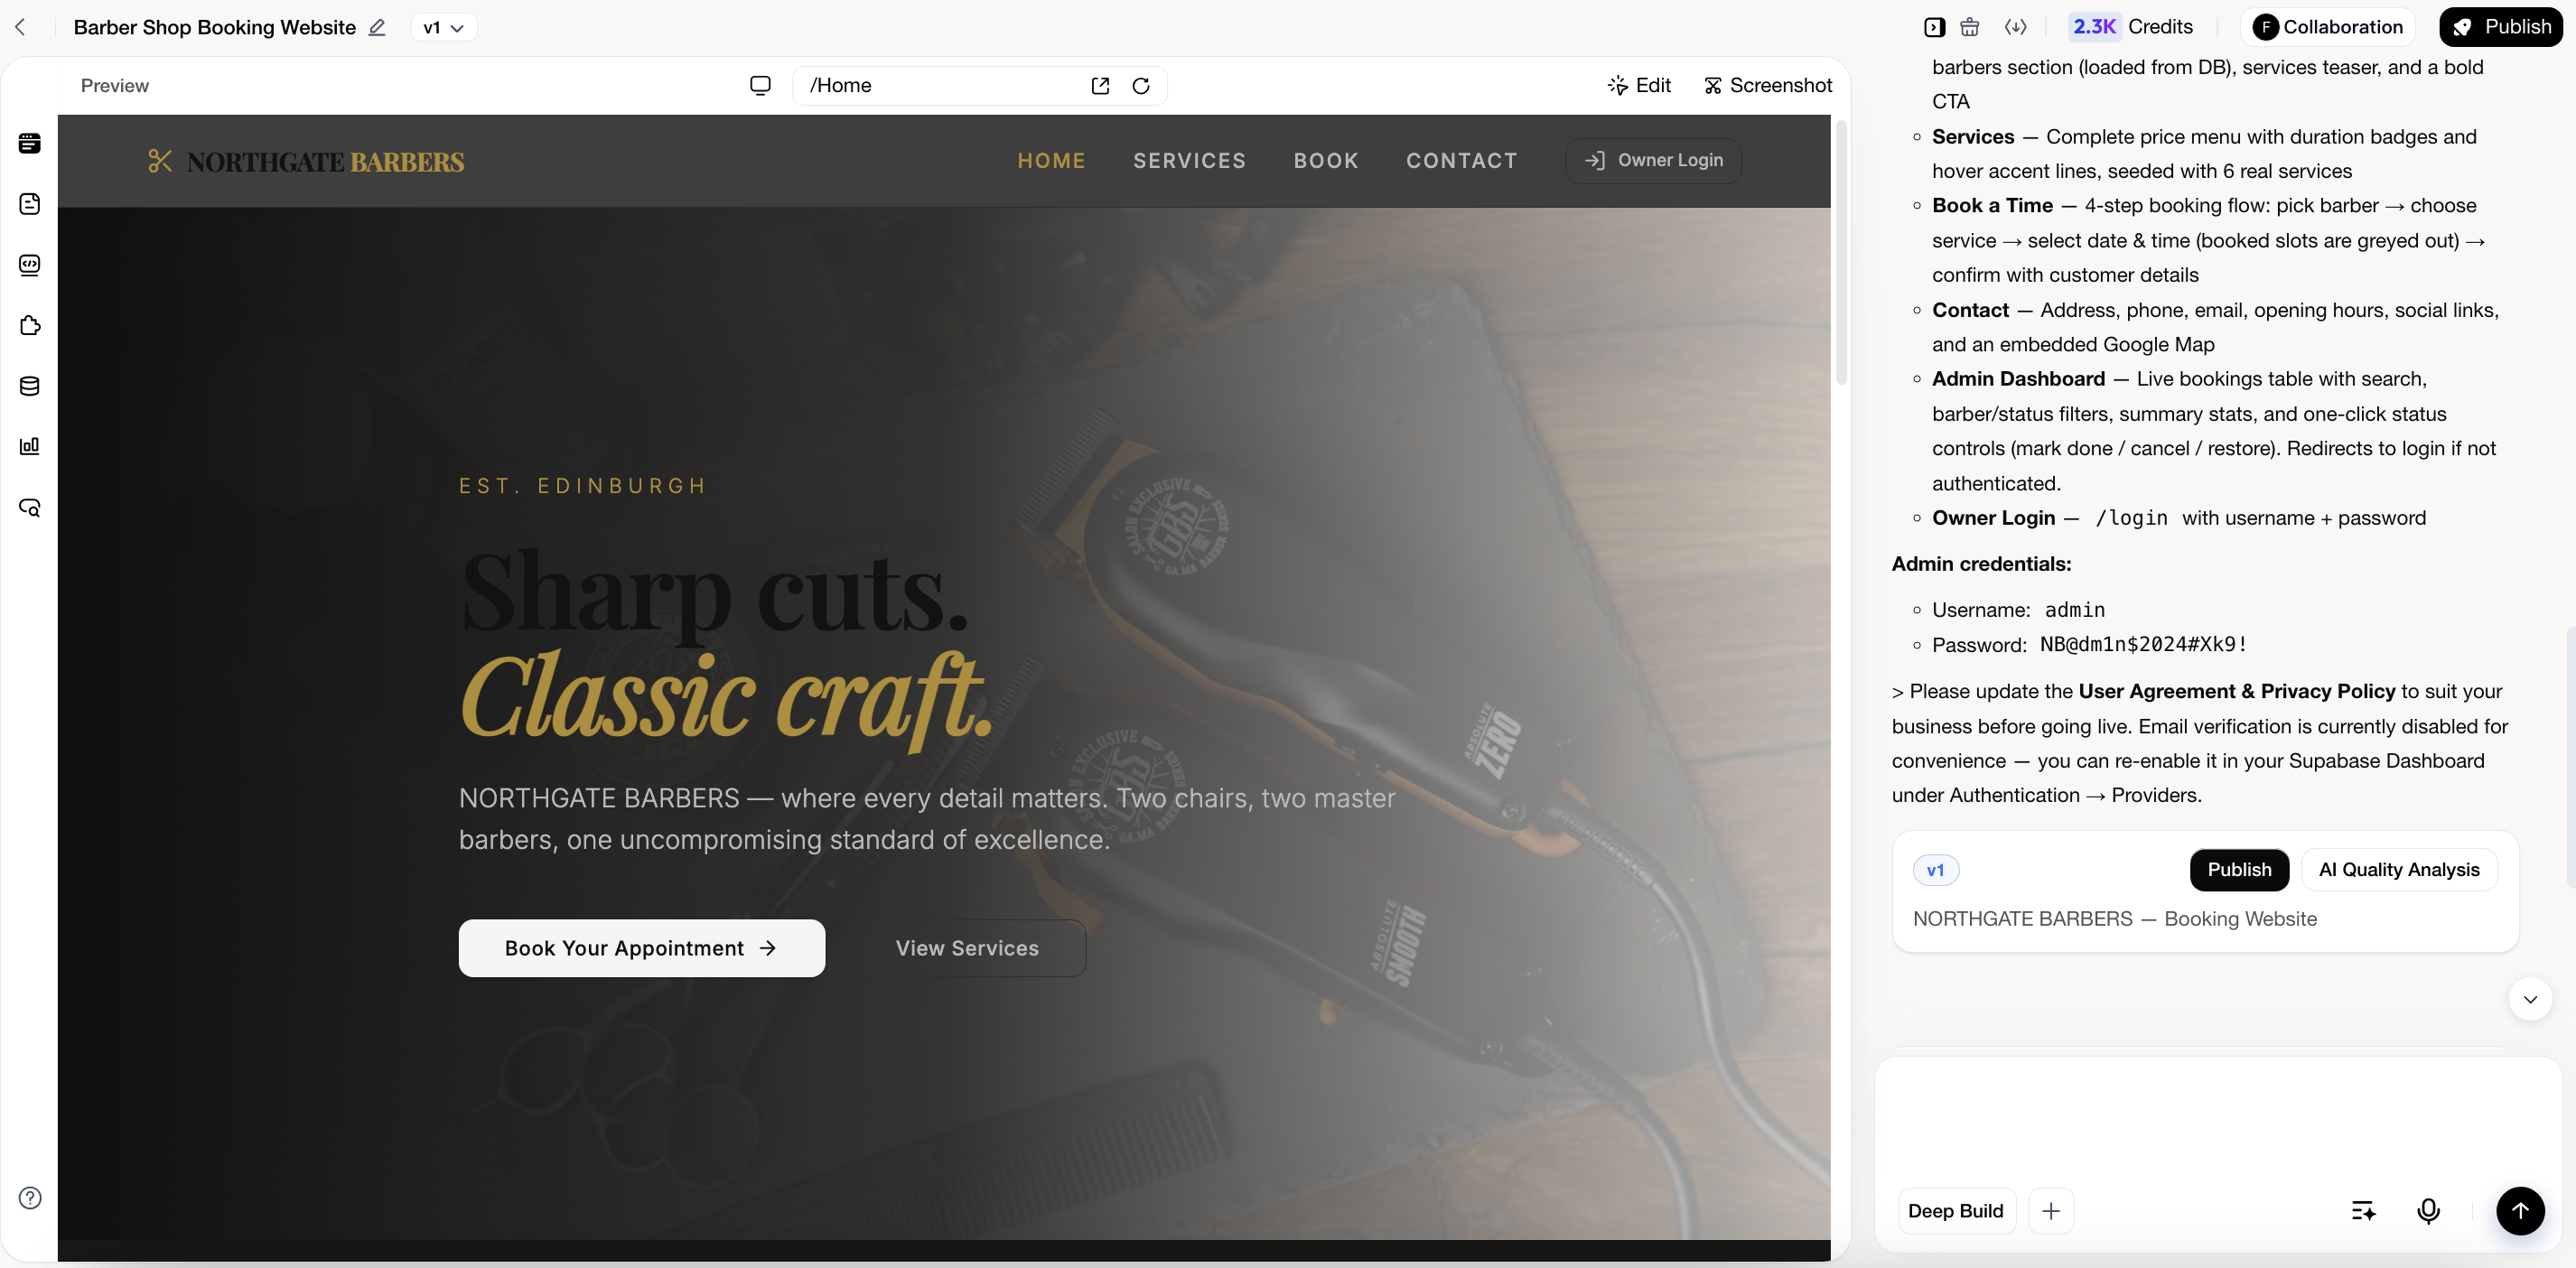
- Chat — describe the change: "make the hero image full width".
- Click and edit — in the preview, click text or an image and change it in place. Best for wording, prices, and photos.
- Screenshot — capture the area, circle the element, upload it with a short instruction. The most reliable way to fix one specific thing.
If your app has an admin area, MeDo posts the generated admin credentials in the conversation. Save them now — you need them to open the admin view.
See Editing your app, Edit in Depth, and Previewing your app.
7. Test it
Click AI Quality Analysis on the version card. MeDo runs a test agent through your app — clicking flows, filling forms, and reading console errors — and reports either a list of problems or that core functionality passed. It takes roughly 10 to 20 minutes and you can leave the page. If problems are found, you get one free repair attempt.
Check the things the automated test cannot: sign in as a second user and confirm they do not see the first user's data, and try any payment or upload flow yourself. See Testing with AI Quality Analysis.
8. Publish
On the version card, click Publish, then Publish Now.
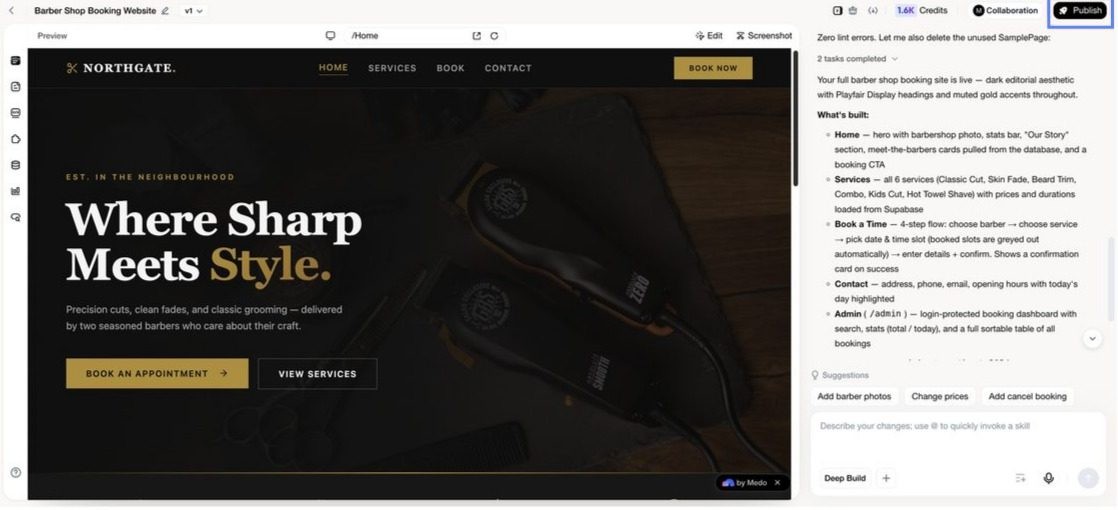
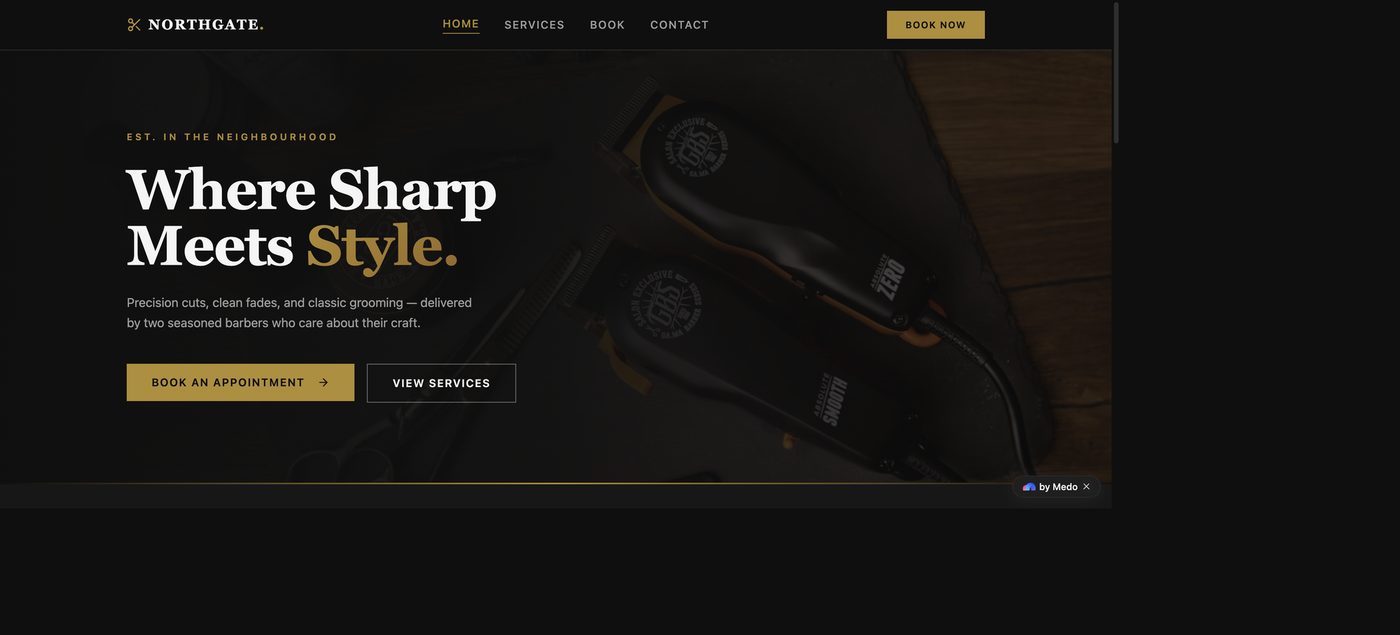
After a moment your app is live at its own address in the form https://<app-id>.appmedo.com, and the button becomes Update for future releases. Send the link to anyone.
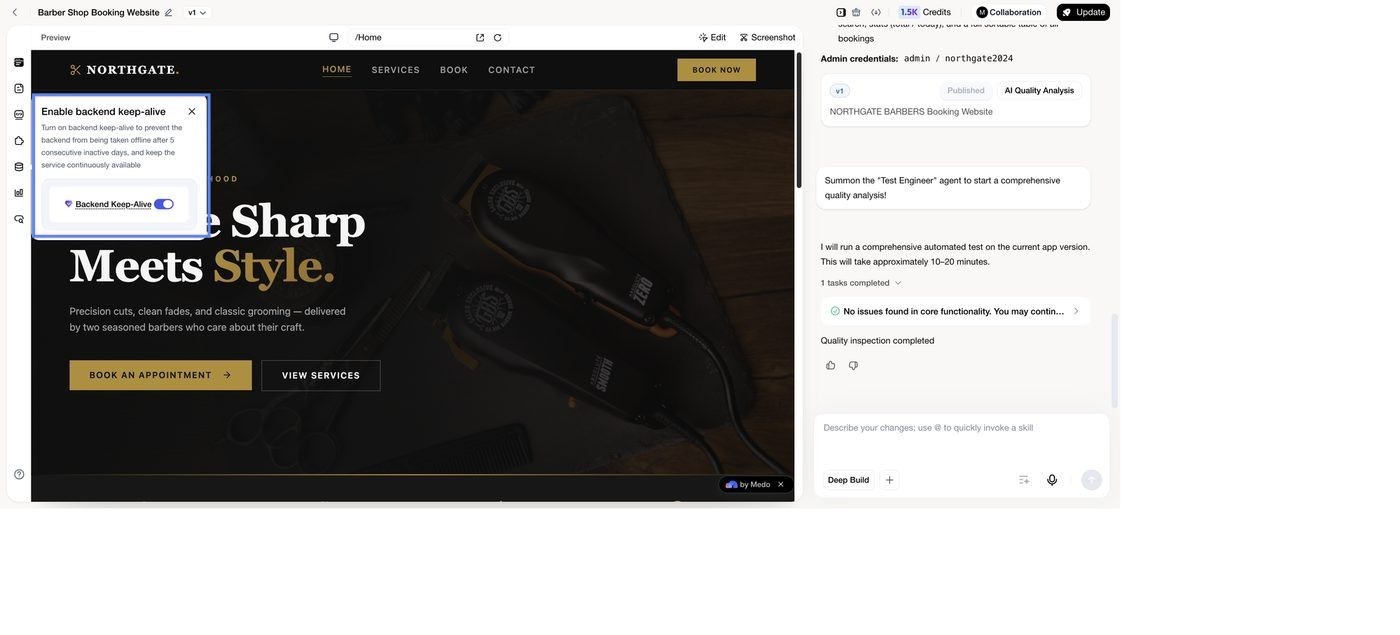
If your app stores data, turn on backend keep-alive when MeDo offers it. Without it the backend goes offline after five consecutive inactive days. The published pages still open; sign-in, forms, and stored data will not work until the backend is running again. The backend also pauses if credits run out; MeDo emails you before that. See Backend settings & keep-alive.
Publishing always gives you a default address (
https://<app-id>.appmedo.com). A custom domain is optional and needs a paid plan — see Custom domains & SSL. To list the app so other people can find and remix it, see Marketplace.
9. Keep working
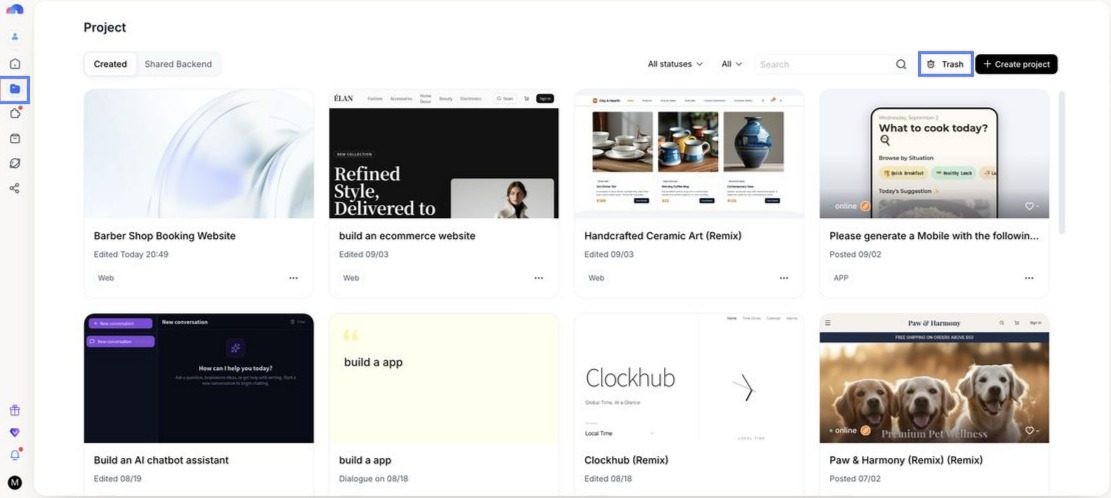
Publishing does not freeze anything. Keep editing the draft; click Update when you want the live version to change. Everything you build is under Project in the sidebar, and deleted projects stay in Trash for 30 days.
If you get stuck
More in Troubleshooting and FAQ.
Next steps
- Learn the interface: Interface Tour
- See what others built: What You Can Build
- Add sign-in for your users: Managing sign-in & users
- Take payments: Stripe