
iOS: get your app on an iPhone
A plain-language guide to turning a MeDo mobile app into a real iPhone app: what you need, what it costs, the three ways to install it, and which one to pick.
A Mobile app you build in MeDo already works in any phone browser at its published address. Packaging goes one step further: it turns the app into a real iPhone app — an icon on the home screen, installed from TestFlight or the App Store. This section walks you through it without assuming you have done it before.
What you need
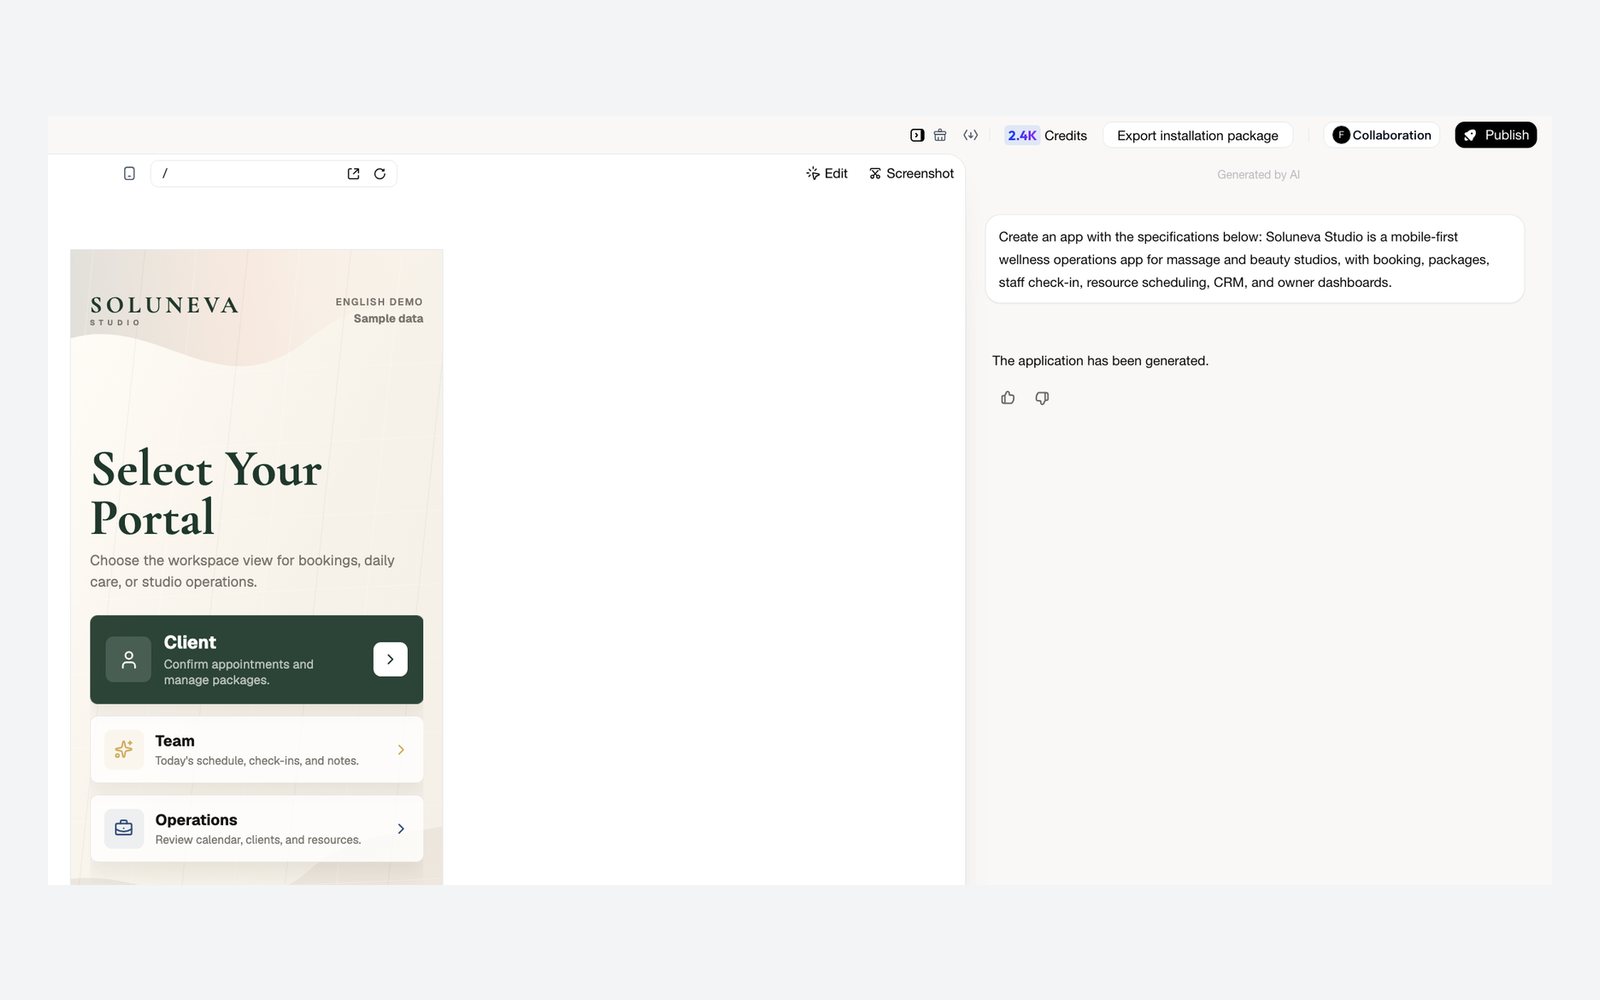
- A Mobile app in MeDo. Packaging is available for projects created with the Mobile task type. In those projects an Export installation package button appears at the top of the editor, next to your credit balance.
- Credits. Each iOS packaging run costs 500 credits. If a run fails or you cancel it, the credits come back automatically.
- An Apple account — which kind depends on the route you pick (next section). You do not need a Mac or any developer software; MeDo builds the app for you in the cloud.
Pick a route
Apple only lets apps onto an iPhone through a few doors. MeDo supports three, and the choice comes down to one question: who needs to install it?
Rule of thumb: start with Local debugging to see the app on your phone. When you are happy, join the Apple Developer Program and go straight to TestFlight → App Store — that is the only door that leads to the public App Store. Use Ad Hoc only when you specifically need a small, fixed group of devices without going through Apple.
The steps, at a glance
Every route starts the same way:
- Open your Mobile project and click Export installation package at the top of the editor.
- Switch to the iOS App tab.
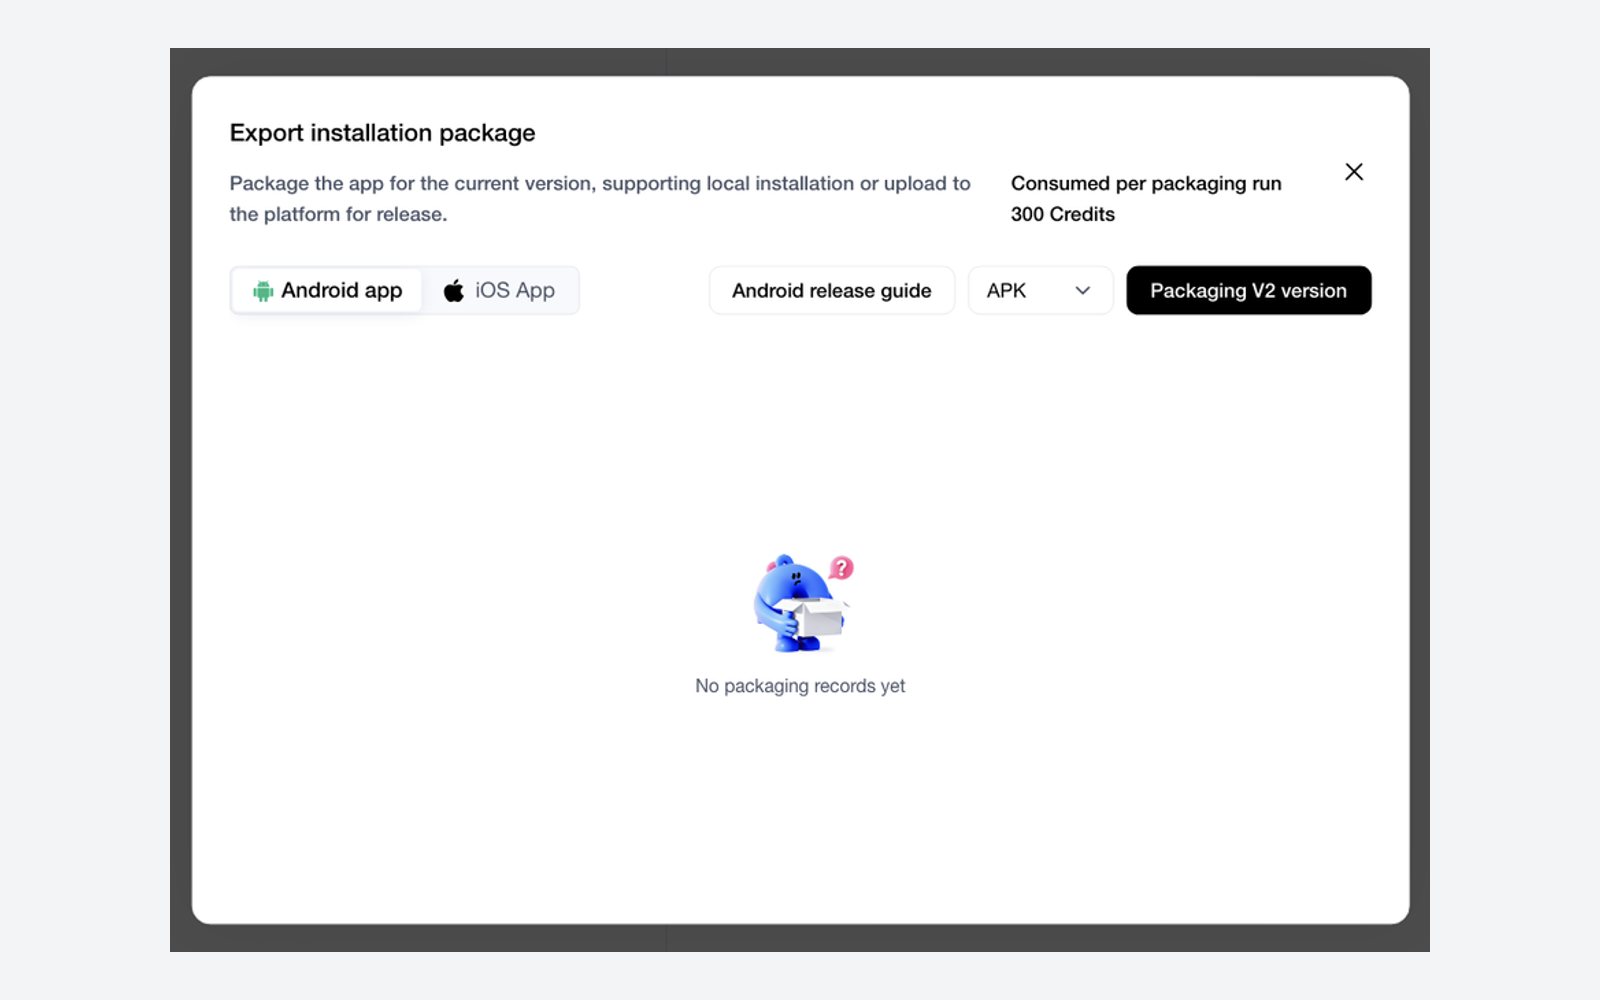
- Click Packaging V… version (it shows your app's current version — for example "Packaging V2 version") and choose your route.
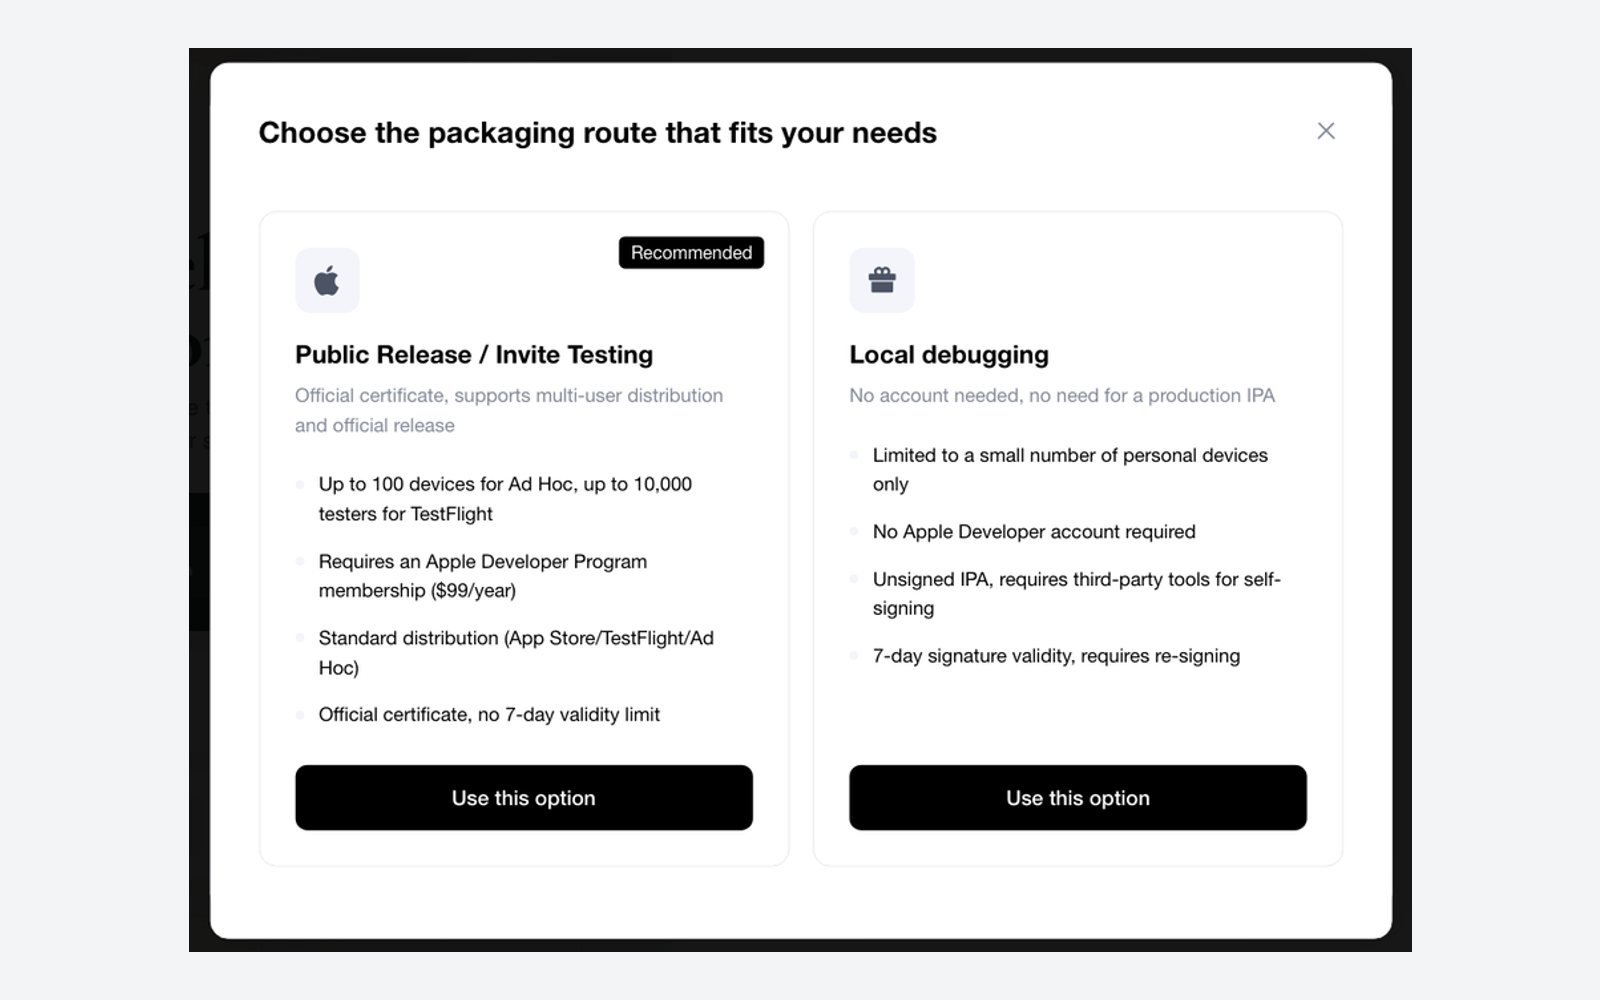
- Public Release / Invite Testing covers both TestFlight → App Store and Ad Hoc; you pick between them on the next screen.
- Local debugging builds an unsigned app for your own phone.
- Follow the wizard for your route. Packaging usually takes 3–8 minutes; you can leave the page and come back — finished builds stay listed in the same dialog.
From here, follow the detailed guide for your route:
- Test on your own iPhone (Local debugging)
- Share with testers and release (TestFlight → App Store), then Publish on the App Store
- Install on specific devices (Ad Hoc)
Words you will meet along the way
You do not need to understand these deeply, but you will see them in the wizard and on Apple's site.
Good to know
- Apple changes its rules regularly. Before a real App Store submission, glance at Apple's upcoming requirements and the App Review Guidelines.
- Some iPhone features — push notifications, Apple Pay, Sign in with Apple, in-app purchases — only work on the paid routes, and some need extra setup in your Apple account.
- Keep your
.p8key file private. It can be downloaded from Apple only once; if it leaks, revoke it in App Store Connect and create a new one. - Packaging is per version. After you change the app in MeDo, package again to get the new version onto phones.