
Edit with Screenshots
Use the built-in Screenshot tool to mark exactly what you want changed, with worked examples for adding, moving, and restyling elements.
Some changes are easy to see and awkward to describe: "the second card in the third row", "the gap above the footer", "the badge that overlaps the photo". A marked-up screenshot removes the guesswork. MeDo sees the exact area you drew on and applies your instruction there.
How it works
- In the editor, click Screenshot in the toolbar above the preview. The current preview is captured.
- Mark the area with the drawing tools: rectangle, arrow, text, or pen. Change the colour if you need more than one mark.
- Click Add to chat. The image is attached to the prompt box.
- Write a short instruction and send.
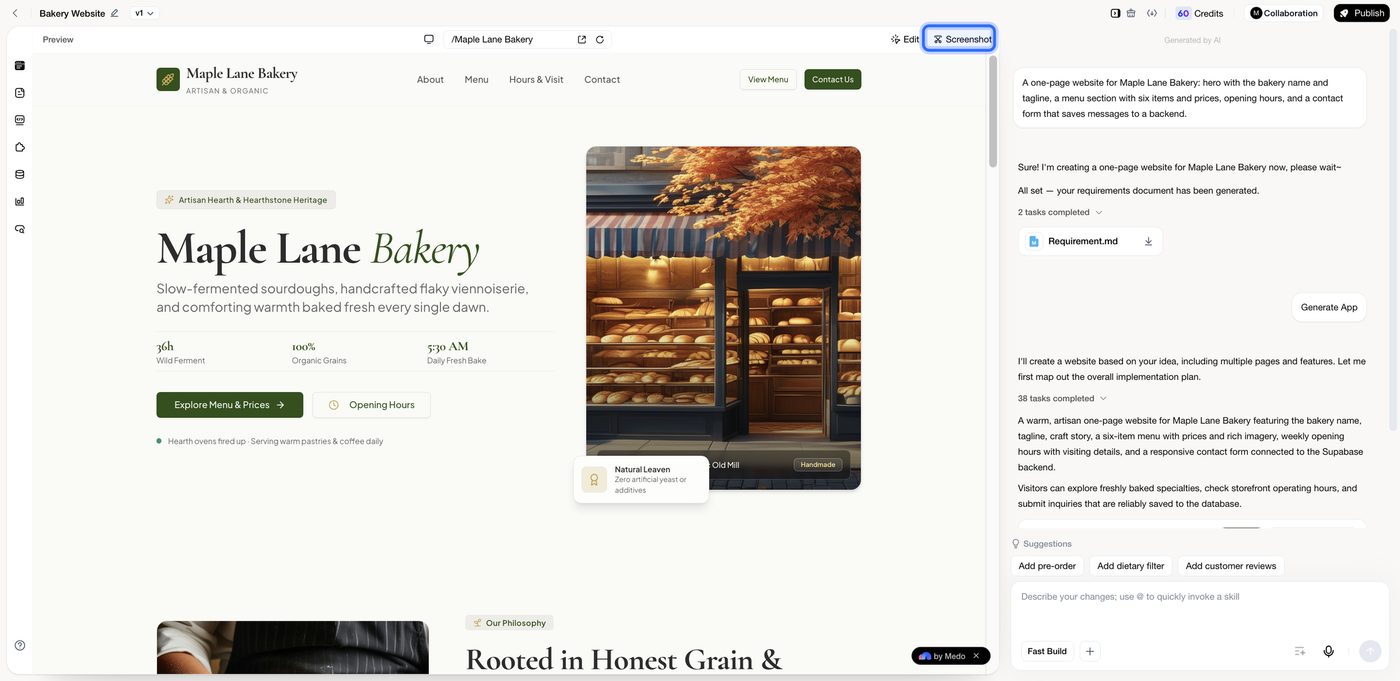
A few habits make the results consistent:
- One mark, one instruction. If you draw two boxes, say what each one means ("blue box: …; red box: …").
- Name the colour of the mark in your message when there is more than one.
- Capture the right device. Switch the preview to phone first if the problem only shows on mobile.
- Keep the instruction about the marked area. Anything outside it should go in a separate message.
Example 1: add something in a specific spot
You want a "New this week" ribbon on one menu item.
- Screenshot the Menu section.
- Draw a rectangle over the top-left corner of the item's photo.
- Send: "Add a small 'New this week' ribbon in the marked corner. Use the same green as the header."
Example 2: move an element
The "Order now" button sits under the text but you want it beside the price.
- Screenshot the card.
- Draw an arrow from the button to the space next to the price.
- Send: "Move the Order now button to where the arrow points, aligned with the price."
Example 3: fix a layout problem
The hero photo is being cropped on phones.
- Switch the preview to a phone size, then screenshot.
- Draw a rectangle around the cropped area.
- Send: "On mobile, the marked photo is cut off. Show the whole image and let the text sit below it."
Example 4: match a reference
You have a screenshot of a pricing table you like.
- Screenshot your own pricing section and draw a rectangle around it.
- Add the reference image with
+→ Upload. - Send: "Restyle the marked section to look like the second image: three columns, the middle one highlighted."
When a screenshot is not the right tool
- Changing text, colours, or spacing on one element is quicker in Edit mode — click the element and edit it directly.
- Adding a whole page or feature does not need a picture; describe it in chat.
- Backend behaviour (what gets saved, who can see it) is a chat request, not a visual one.
See Editing your app for all the editing tools side by side.